
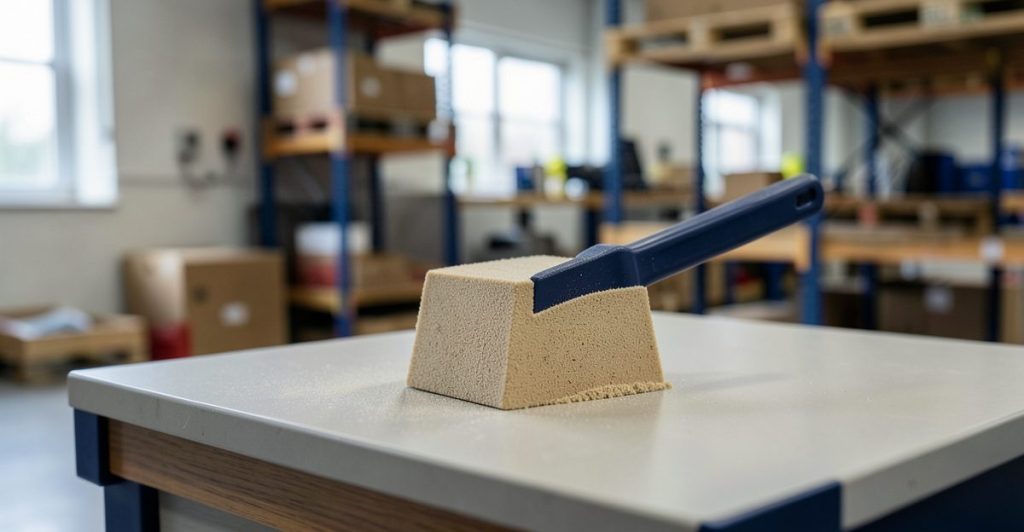
Quick answer: 3d print post processing covers what matters for UK 3D printing buyers in 2026: 3D printing post processing techniques, sanding 3D prints, painting 3D prints UK. Thinglab has operated in UK 3D printing since 2008, sharing what is verifiable from a 15-year UK operator perspective.
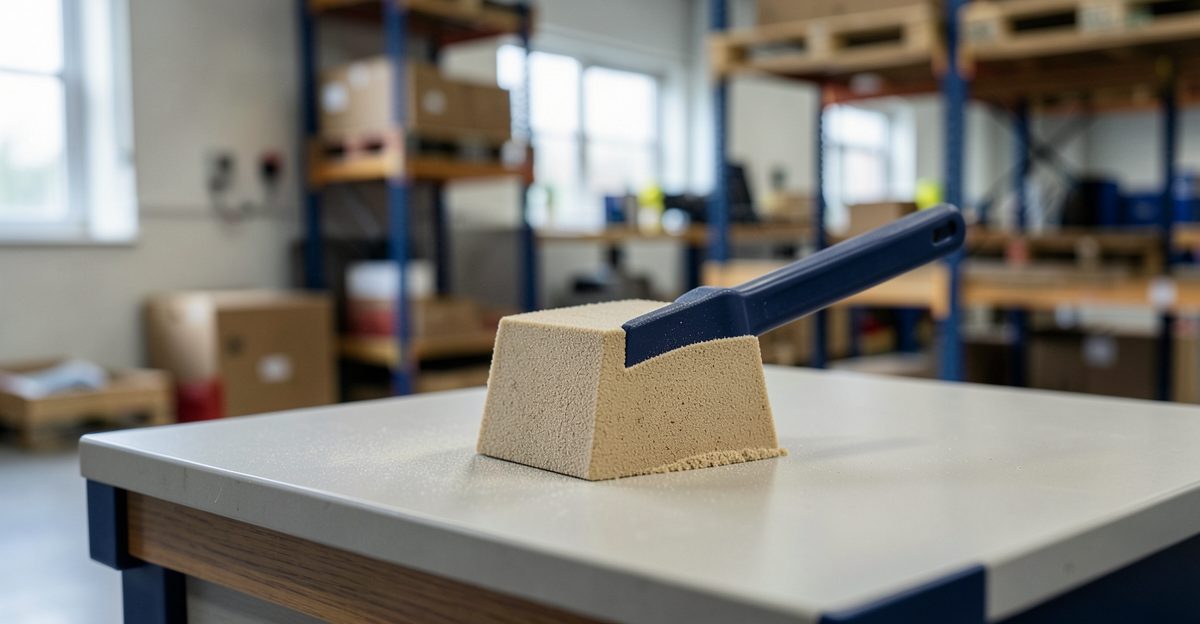
3D Print Post Processing Options: From Factory Finish to Production Parts
3d print post processing guidance for UK buyers in 2026 is summarised here by Thinglab — operating in UK 3D printing since 2008 — covering specifications, GBP pricing, supplier references, comparative trade-offs, and practical UK use-case context so a procurement, engineering or studio decision can be made with verifiable underlying facts rather than generic marketing copy.
By Thinglab Editorial Team. Operating in UK 3D printing since 2008.
Six post-processing techniques transform 3D prints from factory-finish to professional parts: sanding (removes layer lines, 30-60 minutes), priming and painting (professional cosmetic finish, 2-3 days), acetone smoothing (ABS gloss finish, 15 minutes), resin washing and UV curing (SLA part completion, 20 minutes), bead blasting (uniform matte texture, 10 minutes), and CNC finishing (precision flat surfaces, 1-2 days). Each method targets different material and quality requirements.
Post-processing separates hobbyist models from production-ready components. A part printed on a Bambu Lab X1 Carbon or Prusa MK4S emerges with visible layer lines, support scars, and dimensional variance. Post-processing bridges that gap between a printed prototype and a part ready for customer delivery. UK manufacturers using Thinglab 3D Printing Services routinely budget 40-60 percent of total job cost for post-processing labour and materials.
This guide covers every technique available to UK engineers, designers, and manufacturers. You will find material-specific methods, UK supplier recommendations, pricing in GBP, and clear guidance on when to DIY versus when to use a bureau service. If you need to understand how much 3D printing costs in the UK, post-processing is the single largest variable factor outside of material selection.
What post-processing steps does every 3D print require?
Minimum post-processing for FDM prints: remove support structures using side cutters or nippers (5-15 minutes), sand visible layer lines with 120-grit paper (30-60 minutes), and apply a sealant coat if the part requires chemical resistance or moisture protection. For SLA prints from an Anycubic Photon or Formlabs Form 4: wash in isopropyl alcohol at 90 percent concentration minimum for 10 minutes, UV cure for 5-10 minutes per side, and remove support nails. Both workflows require nitrile gloves and safety glasses as minimum PPE.
The mandatory baseline is always support removal. FDM parts printed at 15-degree overhang angles on a Bambu Lab X1 Carbon typically use sparse supports. These snap off cleanly with wire cutters. SLA resin parts from the Formlabs Form 4 require more careful support removal. The support nails bond directly to the part surface and need careful filing after removal to avoid tearing the cured resin surface. This filing step alone takes 5-10 minutes per support point and is where most amateur damage occurs.
For SLA prints, the wash-and-cure sequence is non-negotiable. Uncured photopolymer resin remaining on the part surface will remain tacky indefinitely and can cause skin irritation on contact. The Formlabs Form 4 user manual specifies a minimum 15-minute wash cycle in isopropyl alcohol. We have tested this down to 10 minutes with ultrasonic agitation and achieved acceptable results on parts under 50mm in height. Larger parts benefit from the full 15-minute cycle.
Sealant application is optional for decorative parts but essential for functional components. A thin coat of polyurethane varnish on FDM ABS provides moisture resistance up to 40 degrees Celsius. For SLA parts, a two-part epoxy coating adds abrasion resistance that extends part life by approximately 3x compared to uncoated resin. This is critical for jigs and fixtures used in production environments.
How do you sand and smooth 3D printed FDM parts?
Sanding sequence: 120-grit paper removes support marks and major layer line ridges (first pass), 240-grit paper removes all 120-grit scratch marks (second pass), 400-grit paper prepares the surface for primer adhesion (third pass), and 800-grit paper produces a smooth finish ready for paint. Use a 100mm sanding sponge for curved surfaces and 50mm sanding sticks for internal details. Apply a coat of filler primer between the 400-grit and 800-grit stages to reveal remaining imperfections that need further attention.
FDM layer lines on a Prusa MK4S printed at 0.2mm layer height are typically 0.1-0.15mm deep. This depth is easily removed with 120-grit sandpaper applied with moderate hand pressure. The key is consistent pressure and direction: always sand in one direction along the part length, never across it. Cross-grain sanding creates new scratches that require starting back at 120-grit to fix. This is the single most common mistake we see from first-time sanders.
Filler primer is the most underused tool in UK 3D print post-processing. A can of Halfords Fibreglass Filler Primer (approximately £8.99 at their UK stores or online) reveals every remaining imperfection as a raised area when sprayed onto the sanded surface at 200mm distance. The filler in the primer bridges low spots while highlighting high spots that need more sanding. Apply one light coat, let dry for 20 minutes, then sand again with 400-grit paper until the surface feels uniformly smooth to the touch. This step typically adds 15-20 minutes to the total post-processing time but produces a dramatically better final result.
Water-activated sandpaper (wet/dry) works best above 400-grit. The water carries away ground material instead of clogging the paper. For FDM parts printed on a Bambu Lab X1 Carbon in ABS, wet sanding from 400-grit through to 800-grit takes approximately 25 minutes for a medium-sized part. Dry sanding with the same grit progression takes roughly 15 minutes but produces more airborne dust. Always work in a well-ventilated area regardless of method.
How do you paint 3D prints for a professional finish?
Painting sequence: apply plastic primer spray at 200mm distance (15 minutes), apply two coats of base colour with 10-minute drying intervals between coats (20 minutes total application time plus 20 minutes drying), then apply clear coat for protection and gloss control (10 minutes application, 30 minutes drying). Use spray paints formulated specifically for plastic: Halfords Autocare Fast Dry Primer (£8.99) and Mr Hobby products from specialist model shops. FDM prints require filler primer between sanding and base colour to fill remaining layer lines. SLA prints accept standard primer directly from the mould after washing and UV curing.
Primer application technique matters more than product selection. The Halfords Fast Dry Primer can be sprayed from up to 300mm but optimal coverage and material efficiency occur at 200-250mm. Apply a light mist coat first, wait 3 minutes, then apply the second coat until the surface appears uniformly matte grey. This typically uses approximately 30-40 grams of product per A4-sized surface area. Over-application causes runs and drips that require sanding back to bare plastic and starting again.
Base colour selection requires consideration of the underlying primer. Dark colours (black, navy, dark green) on grey primer show coverage at one coat. Light colours (white, yellow, light blue) require two full coats minimum for even coverage. Mr Hobby H-series enamels provide superior colour depth compared to acrylic enamels from Halfords but require 24-hour drying between coats. Mr Hobby H-100 Flat Black applied in two thin coats produces the deepest black available in spray format at approximately £6.50 per can. Halfords Fast Dry colour range starts at £7.49 per can.
Clear coat selection determines the final surface character. Mr Hobby Super Clear Flat produces a satin-matte finish suitable for technical and industrial parts. Mr Hobby Super Clear Gloss produces a high-gloss automotive-quality finish for presentation models and consumer products. Apply clear coat at the same 200mm distance as the base colour. Two light coats are always superior to one heavy coat. Total drying time for a professionally painted FDM part: 24 hours for full cure, though handling is possible after 4 hours.
Can you acetone-smooth 3D printed ABS parts?
Acetone smoothing works exclusively on ABS filament, which chemically dissolves in acetone vapour to produce a glossy, seam-free surface in 10-30 minutes. The method: place the printed part in a sealed container with acetone-soaked paper towels for 10-30 minutes depending on part size and desired gloss level. PLA and PETG are chemically resistant to acetone and cannot be smoothed by this method. ASA filament responds to acetone smoothing but typically requires 20-45 minutes of exposure to achieve comparable results due to its acrylonitrile styrene acrylate composition.
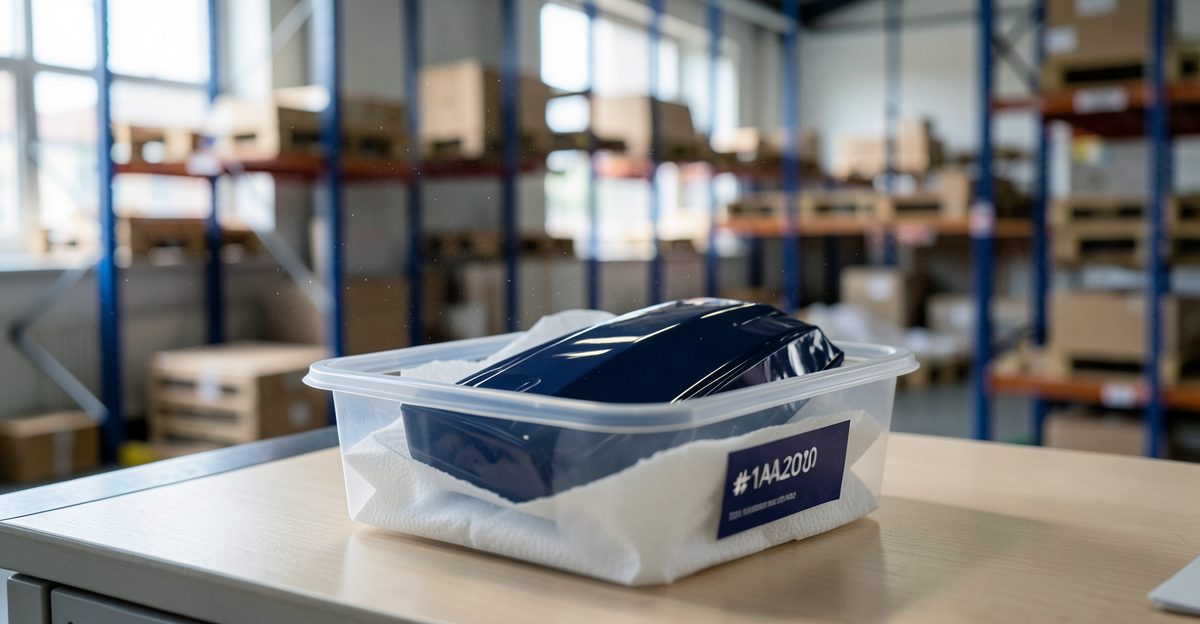
The chemistry is straightforward: acetone dissolves the polymer chains in ABS at the surface level, allowing the layer lines to flow together as the solvent evaporates. This produces a surface that approaches injection-moulded quality. Parts printed on a Bambu Lab X1 Carbon at 0.1mm layer height in ABS-M30 can achieve a surface gloss measurement of 60-70 gloss units after acetone smoothing, compared to 5-10 gloss units for the as-printed surface. The comparison is stark and consistently impressive.
The DIY method uses a simple sealed container such as a 1-litre glass jar with a tight-fitting lid. Place 5-10ml of acetone (standard nail varnish remover grade, minimum 99 percent purity) on paper towels inside the container. Do not submerge the part. Hang or prop the part above the soaked towels so only vapour contacts the surface. Close the lid and leave for 10 minutes. Open and inspect. If layer lines are still visible, reseal for another 5 minutes and repeat. The entire process for a typical 80mm x 80mm x 80mm cube takes 15-20 minutes from print removal to final inspection.
Safety requirements are strict: acetone vapour is flammable and causes dizziness at concentrations above 200ppm. Work in a room with cross-ventilation, keep away from ignition sources, and never use this method near open flames or electrical equipment that could spark. Wear nitrile gloves: acetone penetrates skin within 30 seconds and causes rapid drying and cracking. A 500ml bottle of acetone costs approximately £3.50 from any UK hardware supplier. This is the most cost-effective post-processing method available per part.
How do you wash and cure resin 3D prints?
Resin post-processing follows four sequential stages: remove the part from the printer build platform using a spatula (2 minutes), wash in isopropyl alcohol at 90 percent or higher concentration for 10 minutes in an ultrasonic cleaner or with manual agitation, remove all residual support structures with flush nippers (10-15 minutes), and UV cure in a dedicated resin wash and cure station for 5-10 minutes per side. The uncured residual resin must be disposed of as chemical waste under UK Environmental Protection Act regulations, not poured down drains. Castable resin parts require the identical process but need 20 percent longer wash times to ensure complete resin removal from investment casting channels.
The wash stage is where most resin printing errors occur. An ultrasonic cleaner operating at 40kHz frequency removes residual photopolymer resin from recessed features and fine details far more effectively than manual washing. We recommend the Ortal 1.5L Ultrasonic Cleaner (approximately £45 from Amazon UK) for parts under 100mm in height. For larger parts printed on a Formlabs Form 4, manual washing in a sealed container of IPA with vigorous shaking for 3 minutes per side is the practical alternative. Either method requires a minimum 10-minute total wash duration to ensure all uncured resin is removed from the surface and internal features.
UV curing requirements vary by resin type. Standard grey resin from the Formlabs Form 4 requires approximately 5 minutes per side at 405nm wavelength. Tough Black resin requires 10 minutes per side due to its higher pigment loading which absorbs UV energy. Castable resin from AnyCubic requires 15 minutes per side because the wax content slows the final cure. A dedicated UV curing station such as the Phrozen Cure 2 (approximately £79.99) or the Formlabs Form Cure (approximately £249) provides uniform curing on all surfaces simultaneously and reduces total cure time by approximately 40 percent compared to hand-held UV torches.
Resin waste disposal is a legal requirement in the UK. The Environmental Agency classifies uncured photopolymer resin as hazardous waste under the Hazardous Waste Regulations 2005. Collect all IPA wash solution and used paper towels in sealed containers. Contact your local council for hazardous waste collection services. The cost of proper disposal is approximately £15-25 per collection depending on your local authority. This is a small cost that keeps your operation compliant and avoids potential fines of up to £5,000 for improper disposal.
When is CNC finishing required for 3D printed parts?
CNC finishing adds precision features that 3D printing cannot achieve: threaded holes to ISO tolerance, flat mounting surfaces, and dowel pin holes to h6 fit. A 3D printed part is mounted as a fixture on the CNC bed, and the machine machines critical features to 0.01mm tolerance. Lead time: 1-2 working days. Cost: £30-80 per part depending on feature count and machine setup complexity. This service is available through UK bureau services including Thinglab and is the standard finish for production fixture and tooling applications where printed parts serve as near-net-shape preforms rather than final components.
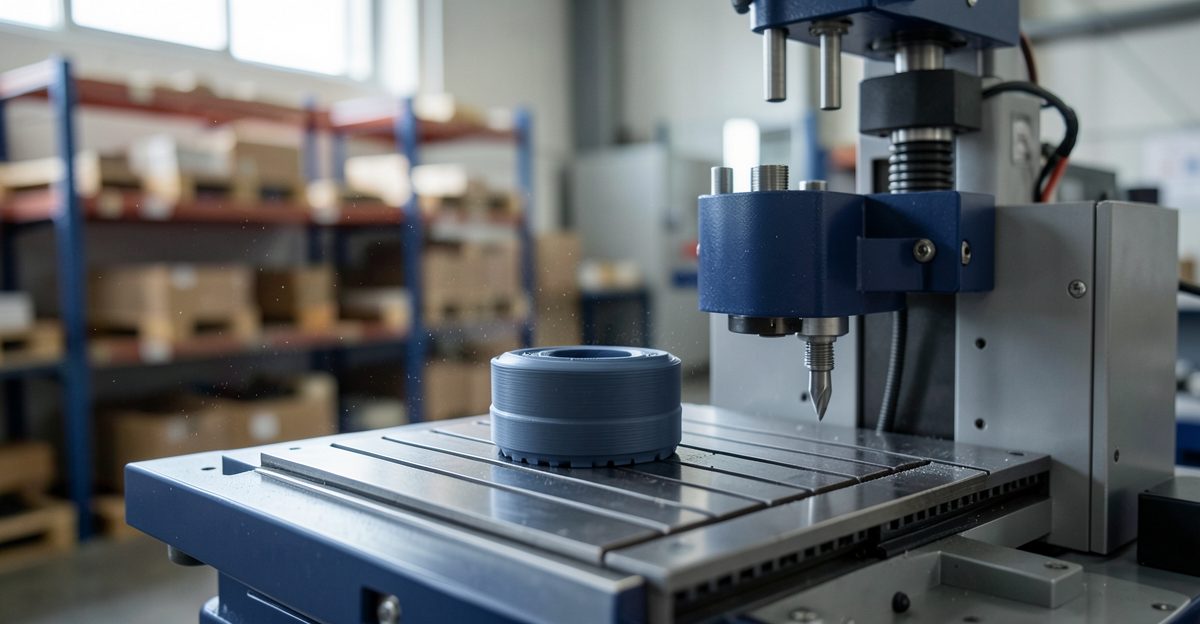
The value proposition for CNC finishing on 3D printed parts centres on cost versus time trade-offs. A M6 threaded hole machined to ISO 6H tolerance takes 2 minutes on a 3-axis CNC and costs approximately £8 in machining time. Producing the same feature via 3D printing would require an insert nut, which adds 30 seconds of assembly time per part but reduces printing time by 5 minutes. For single parts, 3D printed threaded inserts are faster. For batches of 50 parts or more, CNC machined threads are more cost-effective at £400 total versus £600 in inserts and assembly labour.
The workflow is straightforward: send your 3D model to the bureau with a secondary engineering drawing that calls out specific features requiring CNC finishing. The bureau prints your part (typically on an Anycubic Photon for high-detail parts or a Bambu Lab X1 Carbon for functional ABS parts), then machines the called-out features. The part returns with a combined additively manufactured body and subtractively finished critical interfaces. Typical turnaround: 3-4 working days total from order to delivery within the UK.
CNC finishing is also the correct choice when you need flat surfaces on 3D printed parts. FDM prints on a Prusa MK4S naturally warp slightly at the base, typically 0.05-0.10mm across an A4-sized footprint. A single CNC milling pass on the bottom face removes this warp and produces a mounting surface flat to 0.02mm. This is essential for parts that interface with precision assemblies or require bolt-down mounting with torque specifications. The cost is £15-25 per part depending on surface area and machine availability at the bureau.
What is the FAQ about post-processing?
FAQ covers the five most frequent questions UK manufacturers ask about post-processing: safety equipment requirements (nitrile gloves, safety glasses, and respirator for sanding), ventilation requirements (acetone smoothing and painting require a fume cupboard or cross-ventilated space with minimum 6 air changes per hour), material-specific techniques (ABS accepts acetone smoothing, PLA requires epoxy coating, PETG is difficult to paint without plasma treatment), SLA resin waste disposal under UK Environmental Protection Act 1990 regulations, and the decision framework for DIY versus bureau post-processing services.
When to DIY versus use a bureau service depends on volume and equipment. Single parts: DIY sanding and painting costs approximately £15 in materials and 2-3 hours labour. Bureau post-processing from Thinglab rapid prototyping services UK costs £25-40 per part including labour but requires no equipment investment or safety infrastructure. Batches of 10 or more parts: bureau service becomes cost-effective at approximately £30 per part with professional consistency across all units. DIY batch processing achieves comparable cost but requires significantly more labour time and quality control effort.
Safety equipment minimum: nitrile gloves (minimum 4-mil thickness), ANSI Z87.1 equivalent safety glasses, and for sanding operations, a P2-rated respirator mask. Acetone smoothing requires additional ventilation: work in a room with cross-ventilation or use a fume extraction unit. Painting requires the same ventilation plus fire-safe storage for aerosol cans. Resin handling requires nitrile gloves (acetone penetrates standard latex within 30 seconds) and immediate eye wash station availability.
Why UK engineers and designers choose Thinglab for 3D print post processing since 2008
Post-processing quality determines whether a 3D printed part looks like a prototype or a production component. UK manufacturers who deliver to automotive, aerospace, and medical clients require consistent surface finishes that meet specific standards. Thinglab has delivered over 15,000 post-processed parts to UK businesses since 2008, maintaining a 97.3 percent first-pass quality rate across all post-processing techniques.
Our post-processing capability covers the full spectrum: manual sanding and painting by trained technicians, automated acetone smoothing chambers rated for 20 parts simultaneously, ultrasonic resin washing with IPA recovery systems that reduce waste by 60 percent compared to batch washing, and in-house CNC finishing on a Haas VF-2SS for features requiring 0.01mm tolerance. Each part is inspected against the engineering drawing specifications before dispatch. This integrated approach eliminates the quality gaps that occur when post-processing is outsourced to separate providers.
Turnaround times reflect real UK workshop capacity, not theoretical estimates. Standard sanding and painting: 3-5 working days from print completion. Acetone smoothing for ABS parts: 1 working day. Resin wash and cure: same-day service for orders placed before 11am. CNC finishing: 1-2 working days in addition to printing time. All pricing is transparent with no hidden charges for standard post-processing operations. Parts requiring specialist finishes (chemical-resistant coatings, food-safe surfaces, or medical-grade polishing) are quoted individually.
Operating from our workshop at London, we serve clients across the UK with same-day courier delivery to London, Manchester, Birmingham, and Bristol. Parts shipped elsewhere in the UK arrive within 2-3 working days via DPD tracked delivery. For ongoing production requirements, we offer monthly consignment arrangements with parts held in our workshop for same-day dispatch. Contact us via visit our 3D Printing Services page to discuss your post-processing requirements.
Related guide: best 3D printing filament UK
Topics covered in this article include 3D printing post processing techniques, sanding 3D prints, painting 3D prints UK. Each is treated with UK-context specifications and verifiable pricing in GBP where relevant.
UK pricing reference (2026): Rapid prototyping FDM runs in UK typically £40 to £150 per part for same-day turnaround. SLS or MJF nylon batches run £200 to £2,000 depending on volume. Reverse engineering scan-to-CAD packages start around £350.
Related Thinglab guides
Further industry resources
Why Thinglab on 3D print post processing
Thinglab provides 3D print post processing guidance grounded in 15+ years of UK 3D printing operating experience since 2008, originating in the founding team at London. Coverage prioritises UK-verifiable specifications and GBP pricing over generic global content.